Disclosure: French Family Montessori uses affiliated links through Amazon. There is no additional cost to you, but provides a small compensation that helps support this site. I only share products that we use, have used, or are on our wish list. There is no obligation to purchase an item through an affiliated link.
Last week, regardless of all our cautions, we were hit with that dreaded disease that has been plaguing the world for the last two years. Truth be told, I can’t say we didn’t take a risk, with visiting the museum–I just had really hoped that all our precautionary measures would have protected us while allowing E and V a somewhat normal experience.
Needless to say, we’ve been taking things a little bit slower here. During a restroom trip with one of the girls, the other decided to pay a visit to our recently sprouted seeds. Having been talking about parts of the plant, she wanted to see the roots. This resulted in some spouts’ demise but made it clear where her interest lay.
I searched for our root viewer, which I was unable to find as it is probably with our spring books, which we have been unable to locate. So, we had to DIY one.
Since we were going to create a DIY, an age-old teacher’s favourite, I thought they might enjoy learning about the precipitation water cycle a little, to help them understand why we would not be needing to water these seeds daily like we do the others.
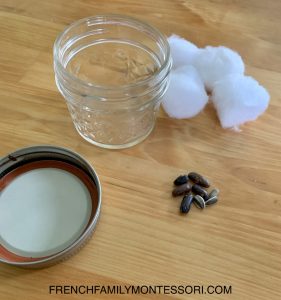
We don’t have ziplock baggies, so we improvised. Rather we used small glass jars we already had on hand. I would have prefered jars that are plain, such as these, but we just what we already had.

What you need:
-Cotton balls or paper towel. We did cotton ball so the roots would be more visible and they would snack around.
-Seeds. We used a variety, not originaly by choice, one the the girls accidently spilled them and we just saved them in a single jar. The only kind of surprise I’m okay with, haha.
-Jars or ziplock baggies.
-Eye droppers.
Using the eye dropper E and V transfered water from a container to their cotton balls. An eye dropper isn’t necessary, but we purposly used them to assit with their pincer grip. An area I’ve observed neeeds stregthening. They then wrung them out so that the cotton balls remined just damp.
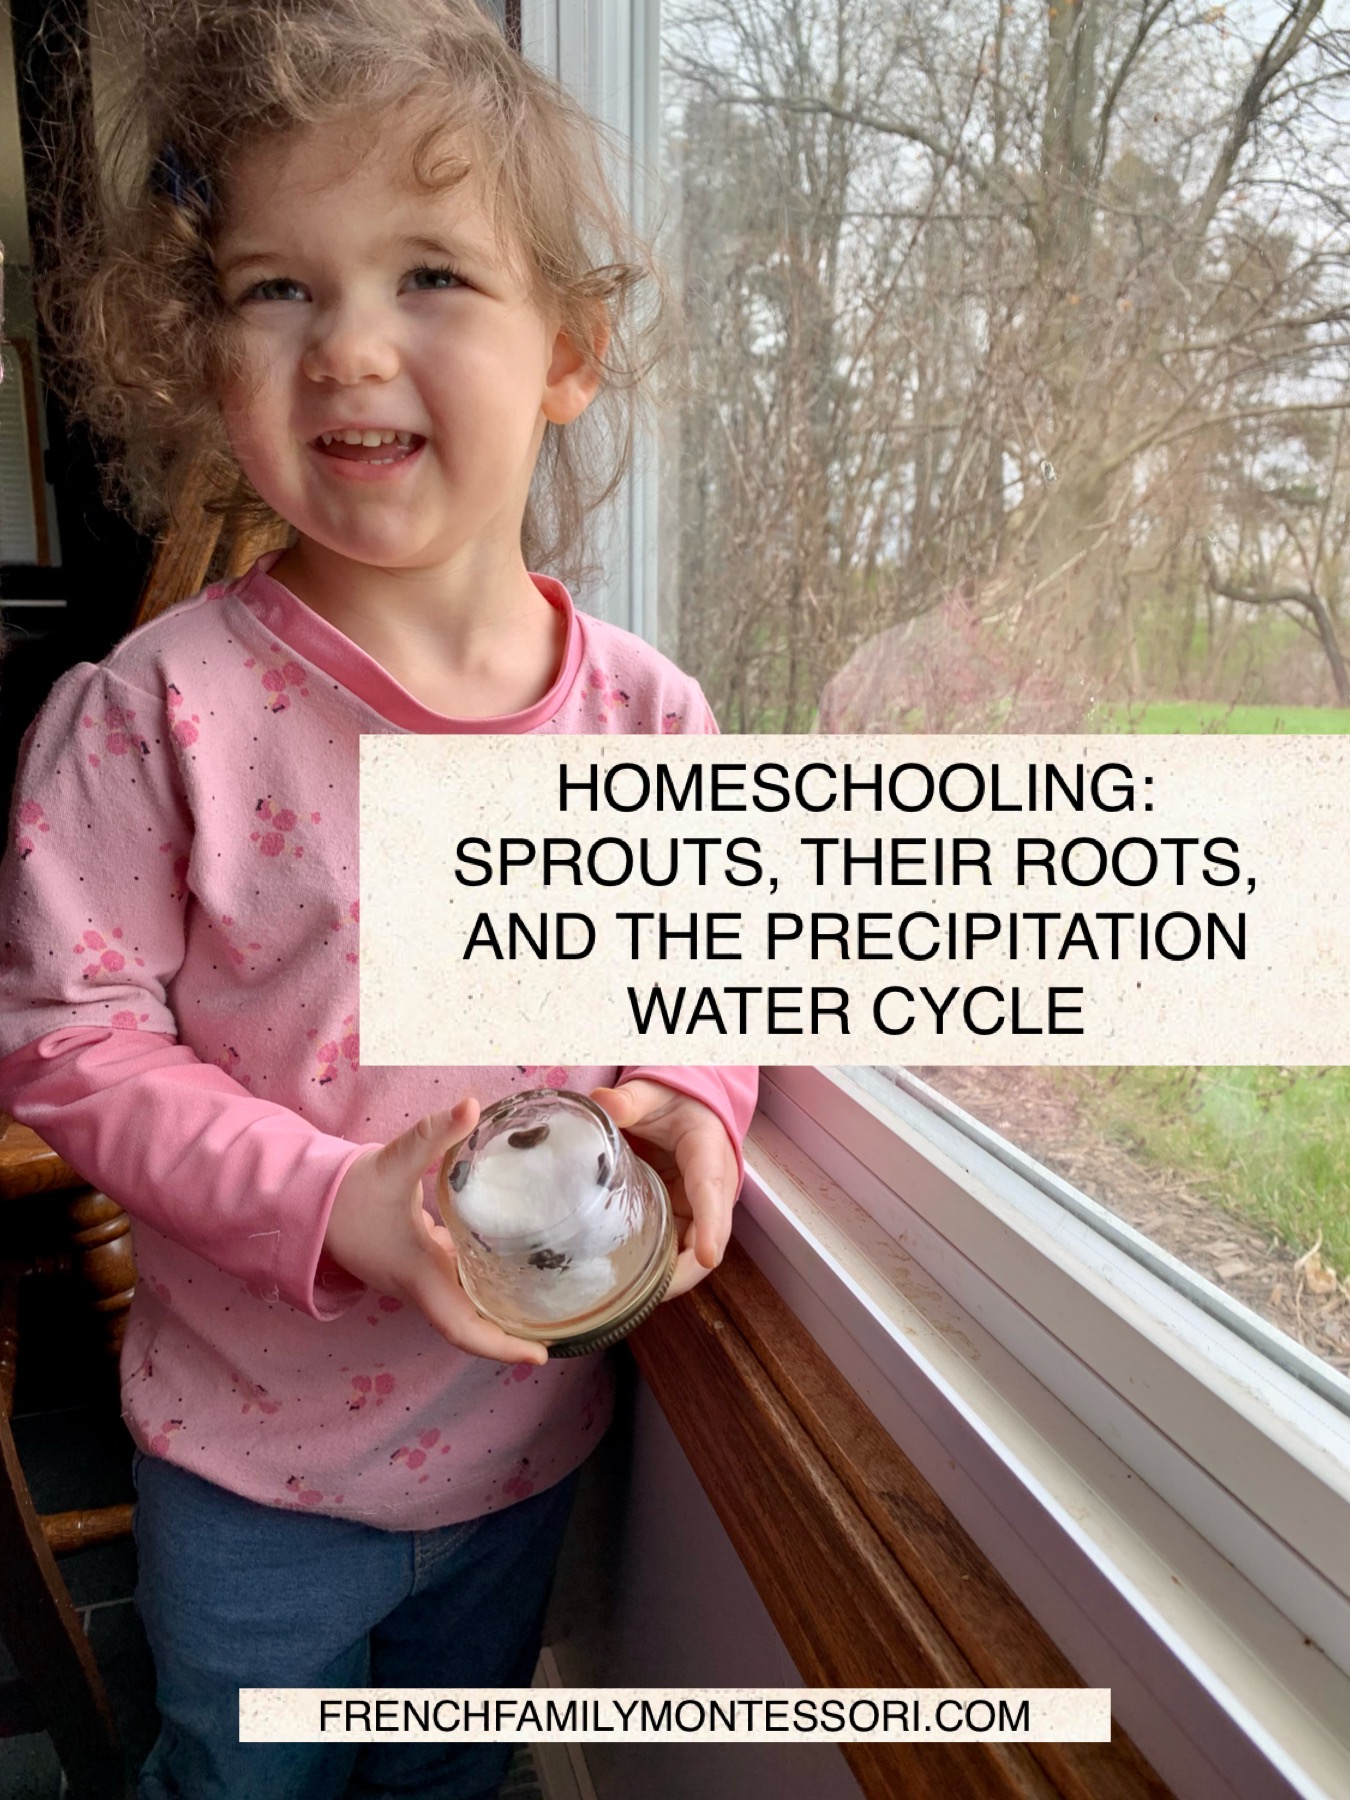
They placed their seeds, in various spots to see if an area was better for sprouting seeds than another. We then put the top on and flipped the jar so that they top was on the bottom to allow for light.

How we will discuss the precipitation water cycle, keeping it basic:
-The heat from the sun causes the water to EVAPORATE–this is when it turns from liquid to gas (we see this as clouds).
-As the collected water vapor cools, it becomes CONDENSATION–we see this on the sides of the glass.
-When condensation from the sky falls from clouds its called PRECIPITATION–rain and snow. Droplets will fall from the top of our jar.
-COLLECTION is when precipitated water is collected by bodies of water, such as lakes–we may see some collection at the very bottom of our jar. It get evaporated and the whole cylce starts again.
There are some wonderful children books that help to explain this cycle, while they haven’t arrived yet, I requested this one and this one from the library.
I hope you enjoyed this little side activity. Thank you for being part of this journey ❤️
.
.
.
