Disclosure: French Family Montessori uses affiliated links through Amazon. There is no additional cost to you, but provides a small compensation that helps support this site. I only share products that we use, have used, or are on our wish list. There is no obligation to purchase an item through an affiliated link.
The other day on Instagram, @ourbeautifulbreathoflife shared an idea for a card that would be the perfect invite for E and V’s birthday party as they choose ‘rainbow books’ as a theme. Heading to bed, after seeing it, I realized that I haven’t introduced the Monti Kids gluing activity yet and knew exactly what we would be introducing for gluing and how.
I woke in the morning, and after our morning routine, gathered the materials to begin this crafty undertaking. I quickly realized this was going to be a bit particular. Rather than having invites be an “our” activity, they will be mine. E and V will have items available to create their own cards, but rather than creating invites, they can begin creating birthday cards for some people we care about.
There’s so much time and energy that needs to go into creating 22 of these cards that I knew I would become anxious and frustrated if rips and tears occur, which is bound to happen with glue. I could be more hands-on and point out where to paint the glue on and where to press, but I don’t want that to be their experience of art. To respect their creativity and personal take on what is introduced, I’ve always introduced and just ensured materials were treated with care–that’s it. I don’t want to change that now. We have so many other activities, such as cooking, in which instructions need to be followed and require more precision.
I always want the progress and joy of creating to be more important than the product–so I’m going to create an environment that fosters that.
So their invite cards were a mama project. When you involve your children in so much, it’s okay to keep a project to yourself once in a while.
The Monti Kid kit is beautiful and thoughtfully designed. (Full disclosure, box 8 was gifted to me for my participation in a Bump article.)

If you would like to create your own kit:
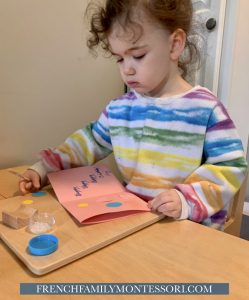
–small sealable container for the glue
–glue
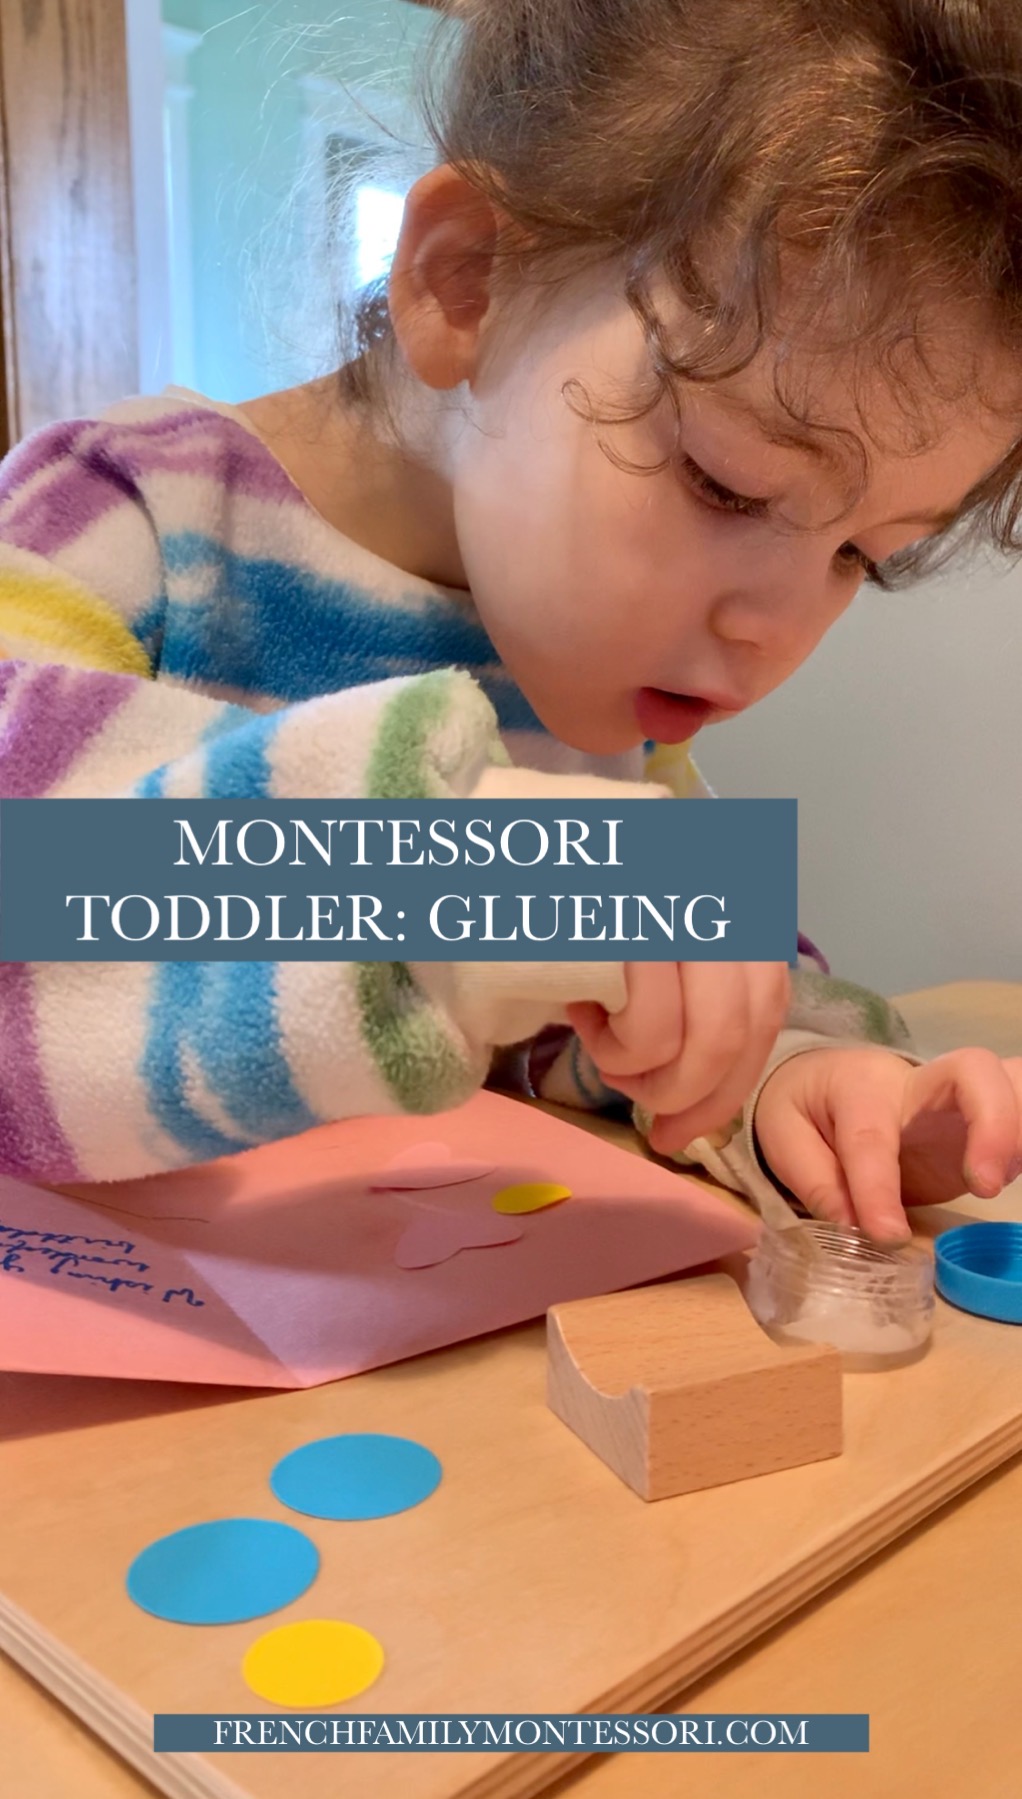
-paper cutouts. You can do this, for ease, or, you can get these to incorporate another aspect and another activity–as well as hand muscle strengthening. I only put out six small cutouts at a time. E and V each get to choose one and then they both always choose heart. This prevents the activity from being overwhelming.
-medium cutting board or another board to use as a gluing surface. This board not only creates the surface area or work on but also defines that area (similar to the reason we use mats for floor work). This is the area we glue on, not on others.
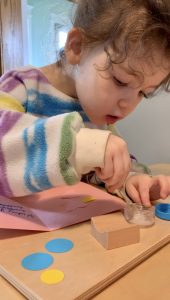
I introduced this activity by showing them the process, slowly. Preparing materials by lining up them up left to right, as we read (post to come). We unscrew the container, pick up the brush, dip the brush in the glue, dab it on our paper, lay the brush back on the chopstick holder, pick a cutout, and place it on the glue spot. Remember, no words, just slow movements. I repeat until my paper is finished and hang up to dry. Then it’s their turn.
There is only one glue kit. While one child glues, the other child is welcome to use stickers, colours, use scissors, or whatever else. Having an item, such as this, encourages patience while we take turns using it.
.
.
.