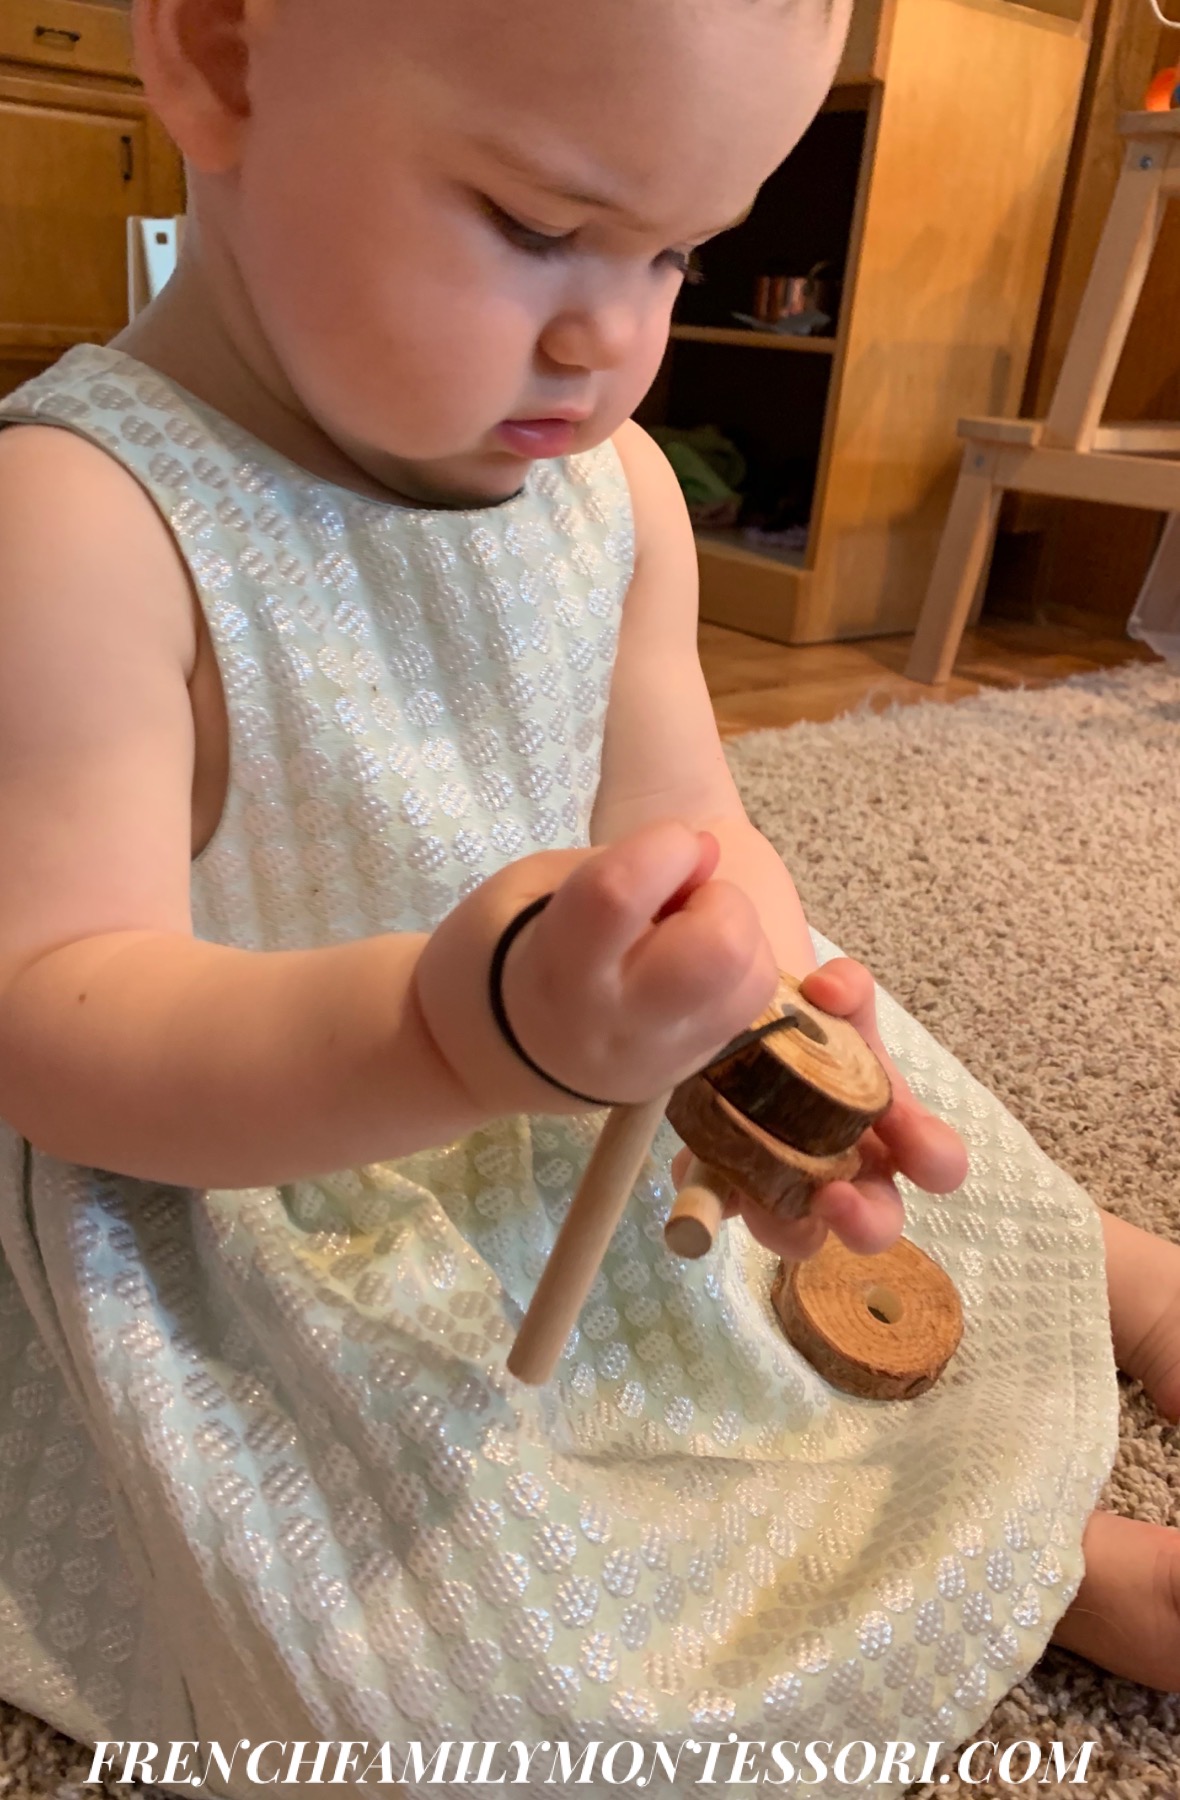
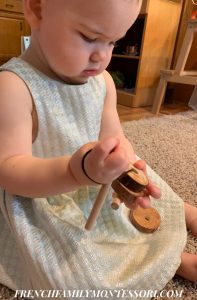
The girls have had this particular ring stacker on their shelf for awhile, but they have never shown much interest in any forms of ring stackers. I did, however, notice that they would hold the ring and attempt to thread it onto the wooden dowel. The dowel with stand is a little heavy and difficult to maneuver in such a manner, so I knew an alternative activity would be better.
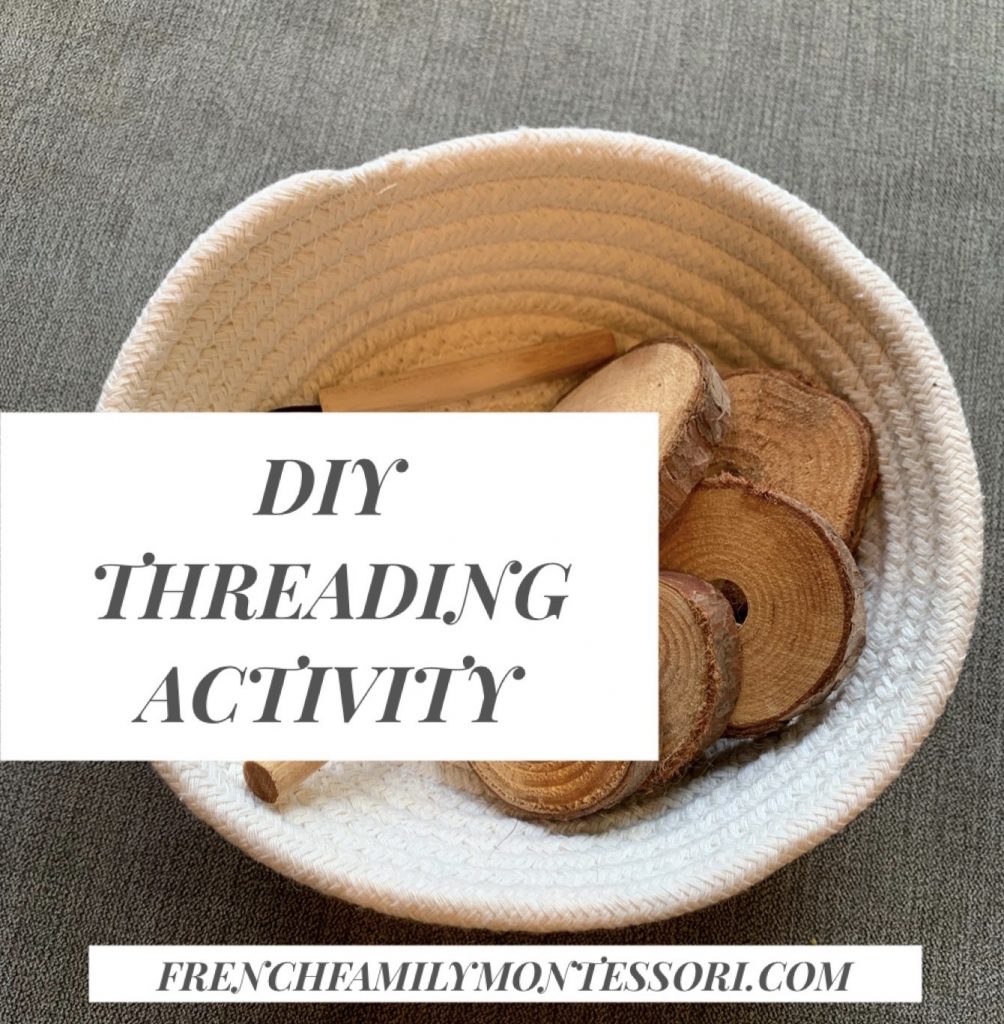
So I decided to make them a threading activity using:
- 3/8″ dowel
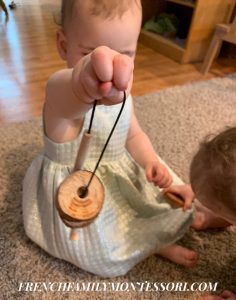
- Thread (I used leather as that’s what I had on hand)
- Wood slices I purchased second hand (similar to these). The girls are still mouthing most materials, so I wanted to use wood slices to avoid them being a choking hazard
- 1/2″ drill bit (for the wood slices)
- 1/8″ drill bit (for wood needle)
- 7/64″ drill bit (for wood needle and base wood)
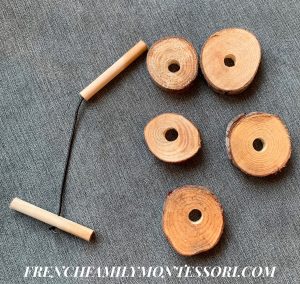
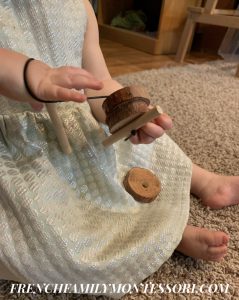
-The dowel was cut to create two parts; an end base to hold the thread and the “needle”.
-For the wood needle, the 7/64 drilled bit was used to drill a hole through the length of one of the dowels. The 1/8 drill bit was used to increase the hole size for 3/4 of the dowel. This was so that I could tie a knot in the cord and it would fit in the dowel without being pulled through.
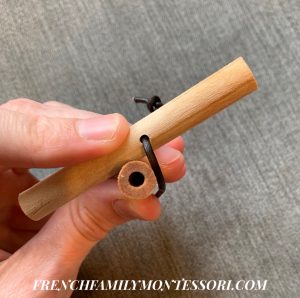
-In the second dowel a small hole was drilled using the 7/64 bit, just big enough for the thread.
-Holes were drilled into the wood slices with the 1/2 drill bit. Just slightly larger than the wooden dowel needle.
We also made a square with holes, for threading, when they needed an additional challenge. They can thread the square alone, or, for an even greater challenge, thread the wooden slices to the square.
This post contains affiliate links at no extra cost to you.
.
.
.
One thought on “DIY THREADING ACTIVITIES”