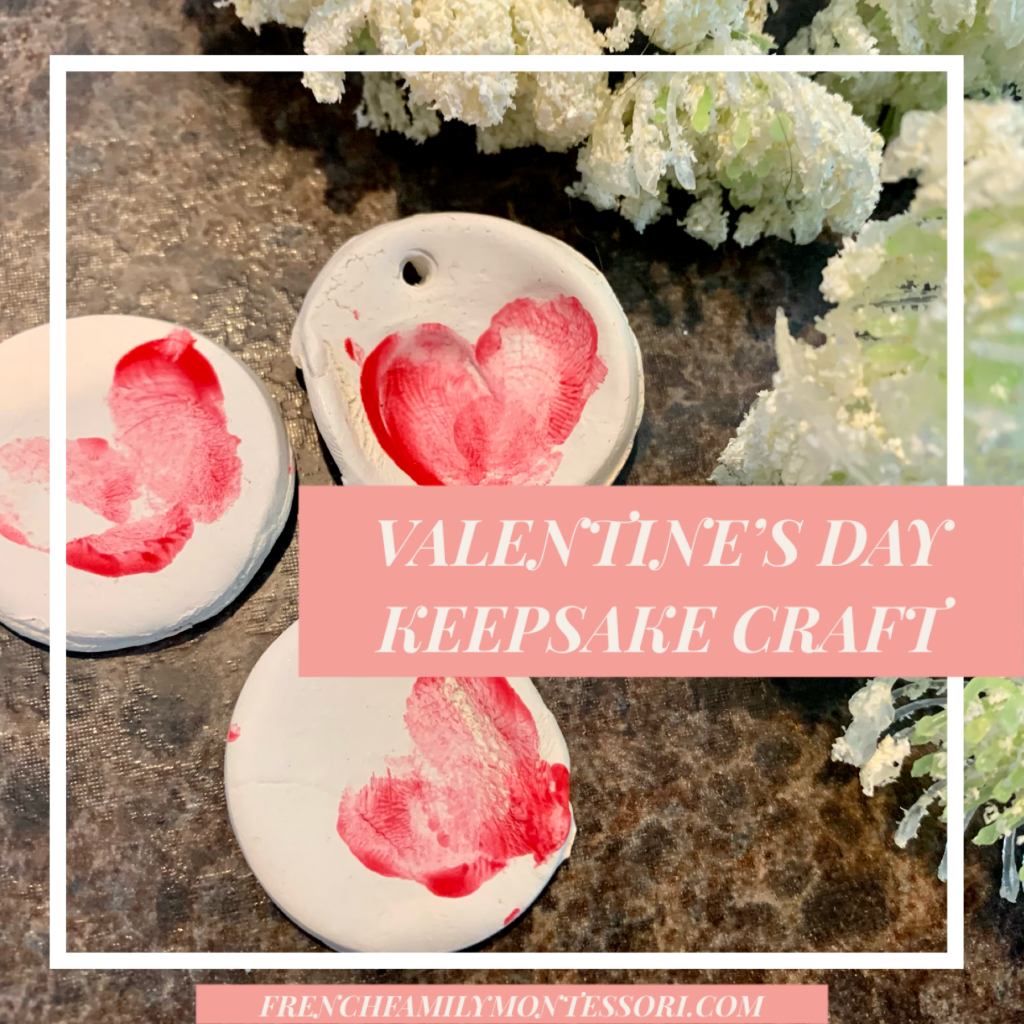
We made this craft last year, or rather their little thumbs and I did–haha, and I thought we would make them again this year since E and V could now do most if it on their own. I’m hoping this little Valentine keepsake will become a tradition, at least until they don’t wish to create them anymore, because I’m a bit sentimental and love seeing these little magnets on the fridge.
.
.
Materials needed:
–small magnets or magnetic strip, which we used, cut to size
-mini circle or heart shaped cookie cutter
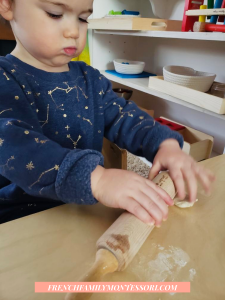

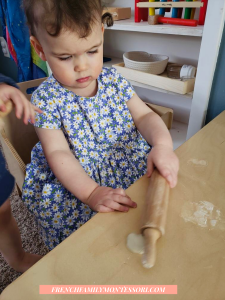
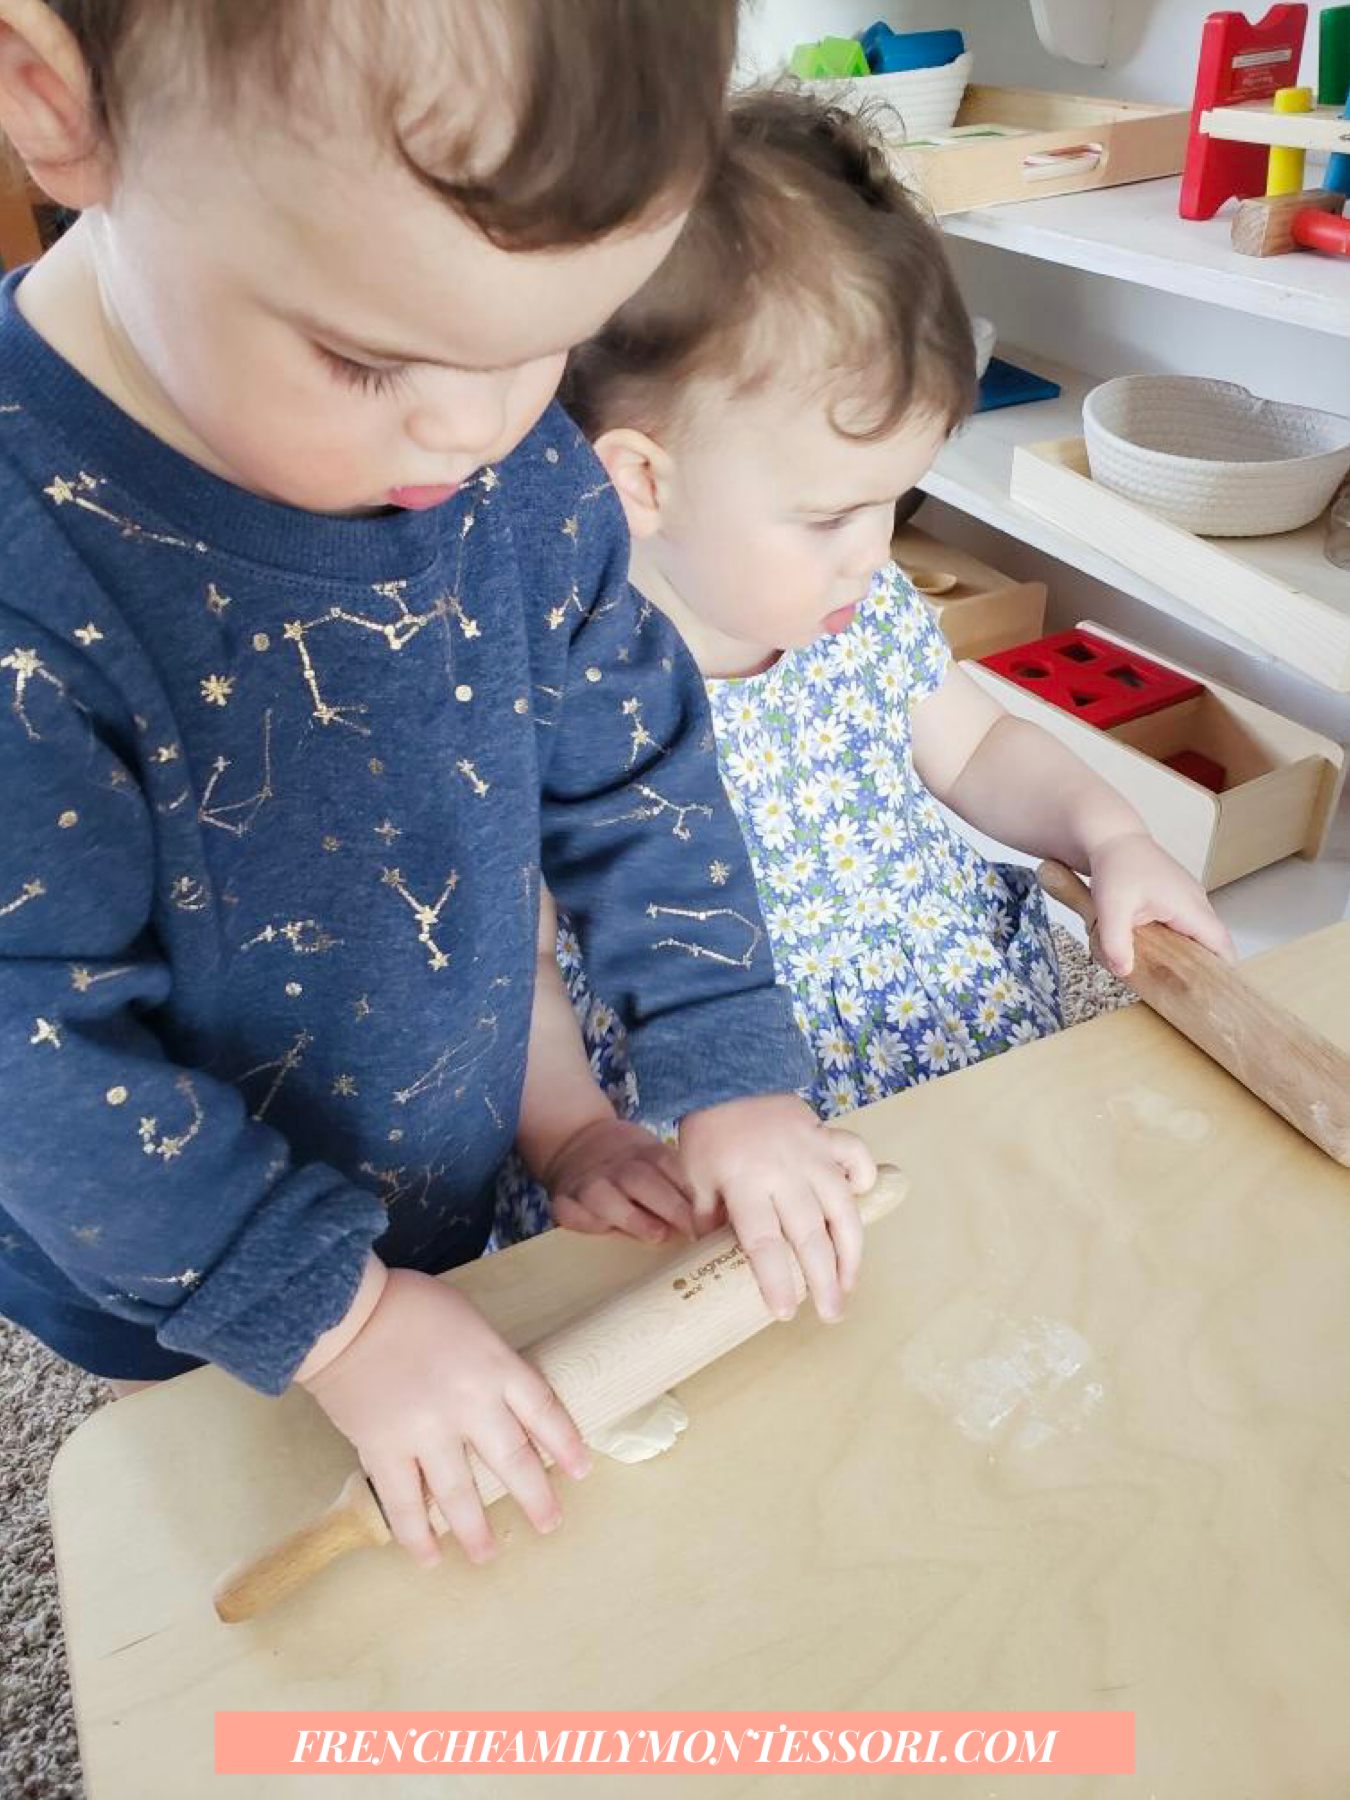
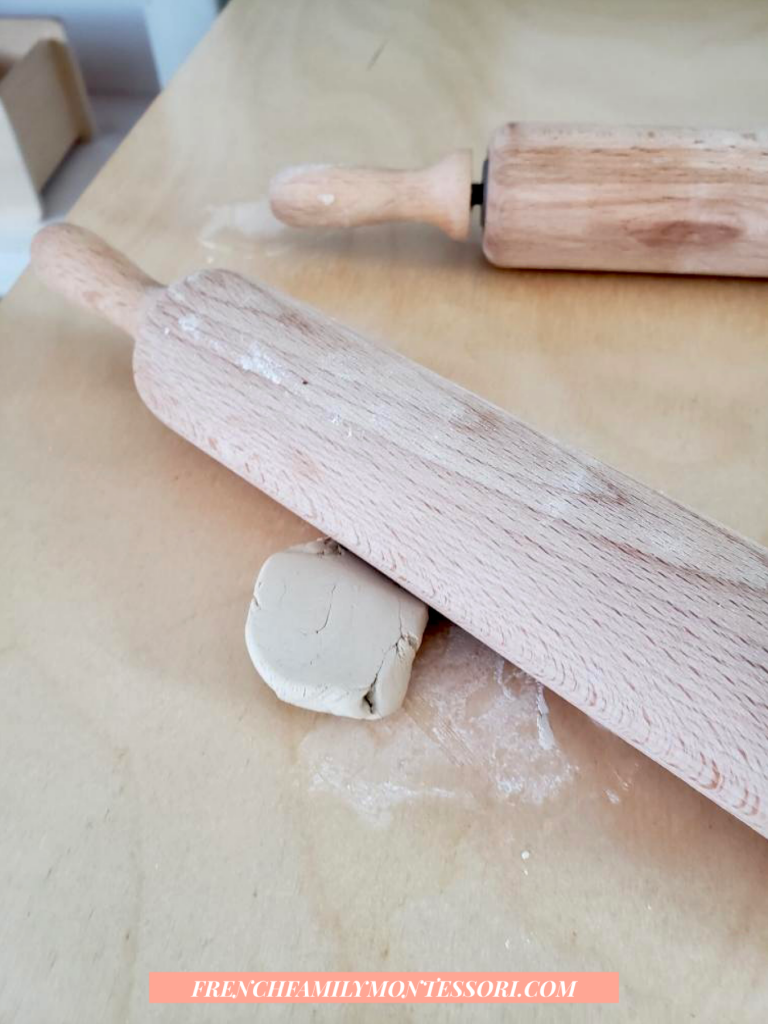
We’ve been making an abundance of homemade pasta lately, without a machine, so a lot of working with a rolling pin–a lot! E and V have been helping with this process, and they really enjoy it, so they took to rolling out the clay immediately. Once rolled out, about a quarter of an inch thick, we used a flip-lid milk storage container I had from the hospital, which I came across when cleaning out the freezer recently. Talk about perfect timing! The size was ideal as they were able to hold it in a familiar way to stamp out the circles.
We then did two different methods for the thumbprints:

-The first was thumbprints in the clay before it dried. E enjoyed this, but V didn’t want her thumb to have anything to do with the clay after two prints, which I, of course, respected. I figured if she enjoyed the second method we would try later, great! If not, I was going to keep these two prints and no one else would receive any clay magnets this year, haha.
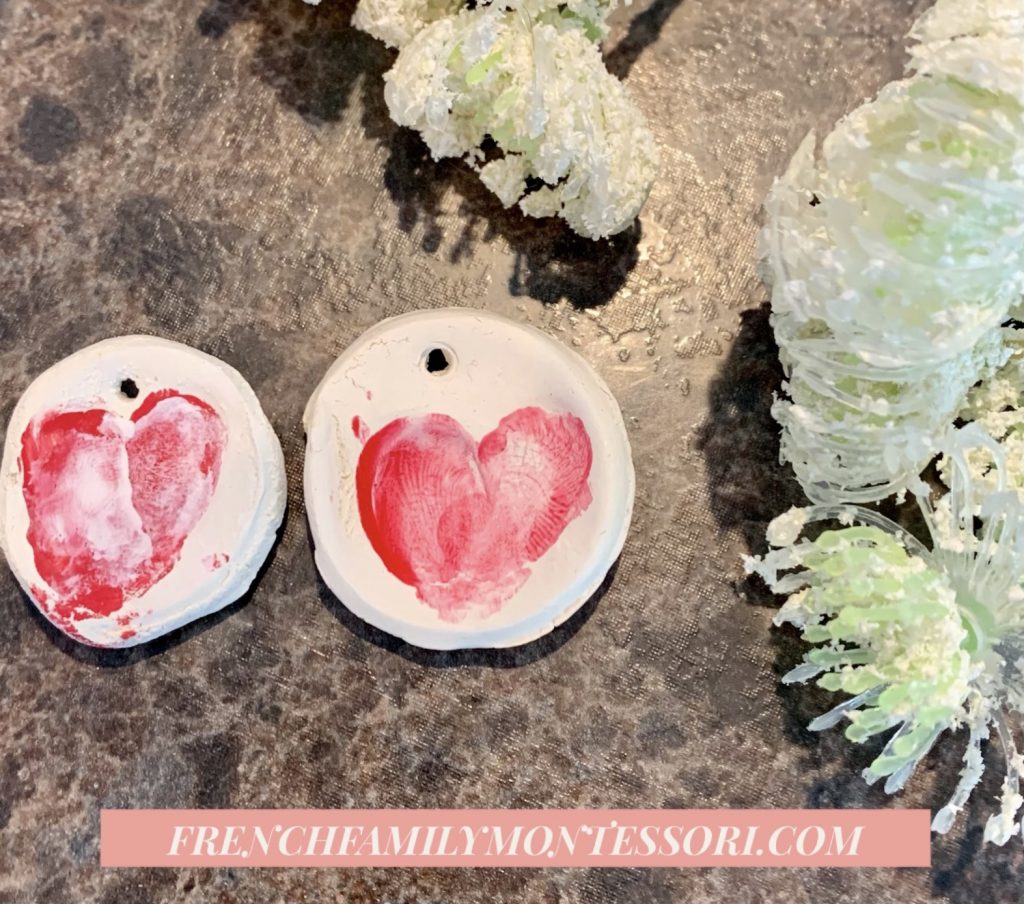
-The second method was just a painted thumbprint on dry clay. When it was time for this step both E and V were extremely interested as they just love paint! E grabbed their Buddha boards when she saw me grab my paintbrushes thinking we were just going to work with water. Once she saw the paint she immediately climbed up on my lap to see what I was preparing. So she went first. I put some red paint on paper towel, we dabbed her little thumb in, wiped any excess paint off and then placed her painted thumb onto the little clay piece. I had planned on using the brush to paint the red paint onto her thumb, which offers a more uniform print, but she doesn’t care for this method and prefers the dabbing. So that’s the route we took. While the prints won’t look like prefect little hearts, E is learning to enjoy creating art and that’s much more important. Besides, over the years we will see their prints evolve. We had made quite a few clay pieces (they enjoyed the process and accidents happen so I like to be prepared) and she wanted to do them all, so we did.
V wanted to join, which was expected, but I didn’t expect her to do more than a print. She didn’t enjoy doing her thumbprints in the clay the day before and I expected the same reaction. But I was wrong! She really enjoyed the paint and placing of her thumb, so she wanted to do all the pieces we had too! I tried to help her line up her thumb in such a way that her and E’s would create a heart. Once I saw that she would routinely place her thumb a certain way, I would try to just lay the piece down so she could line it up on her own. While I wanted to try and remain hands-off as much as possible, she would still request me to help with her thumb now and then.
Once the paint was dry, I glued the magnetic piece to the back. While the magnet already had an adhesive backing, I don’t trust that with such treasured pieces. I glued last years magnet and clay piece together and they held up so well that I’m not taking a chance and will be repeating the process again this time.
And that was all! Are you creating special Valentine’ Day traditions with your little one?
This post contains affiliate links at no extra cost to you.
.
.
.