I saw something similar another Montessori mum had purchased and knew that it would be something E and V would really enjoy–being that they are so into sorting colours at the moment. When I saw this colour wheel we were on holiday in the RV. For some reason, I didn’t bring any colour sorting with us. I mean, I brought a tweezing activity that did allow for some colour sorting, but the colours weren’t as clear.
While on this holiday we had to make a run to town and came across a dollar store. This store was amazing! Walking through the craft area I found so many items that would allow me to create some activities, while in the RV–including items to create a colour wheel.

What I used:
-Canvas. Not pulled, as that wouldn’t be durable enough.
-Finger paint. I chose finger paint for the watercolor effect it would leave. I knew that it would be too time consuming and difficult to create something flawless and this watercolor look is forgiving and I just really like it. The set I purchased only had red, blue, green, and yellow. This was fine as there was enough paint of each to mix and create the additional colours I would need.
-Paintbrush. I obviously have more than enough brushes at home, but we weren’t home, haha.
-Markers.
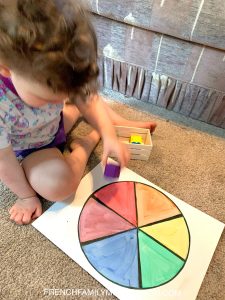
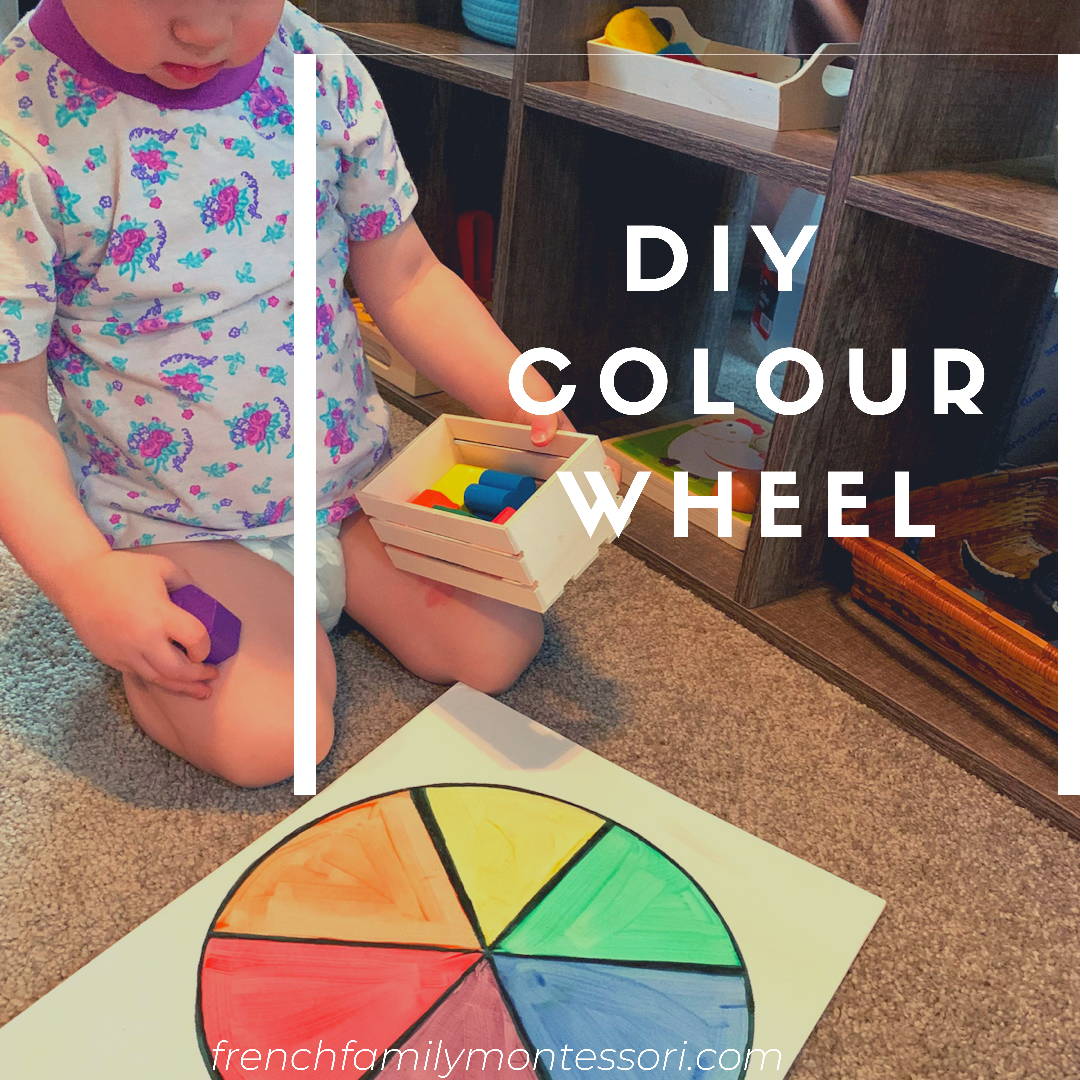
I used a large pan to create a circle and then a book to create straight lines. I only did six colours; red, orange, yellow, green, blue, purple. These are what the girls are working on at the moment, having mastered sorting red, blue, yellow.
We had brought along this shape sorter that they really enjoy and it had just the right colours we needed to complete the colour sorting activity.
As expected, they loved it!
Is your little one into colour sorting at the moment?
.
.
.