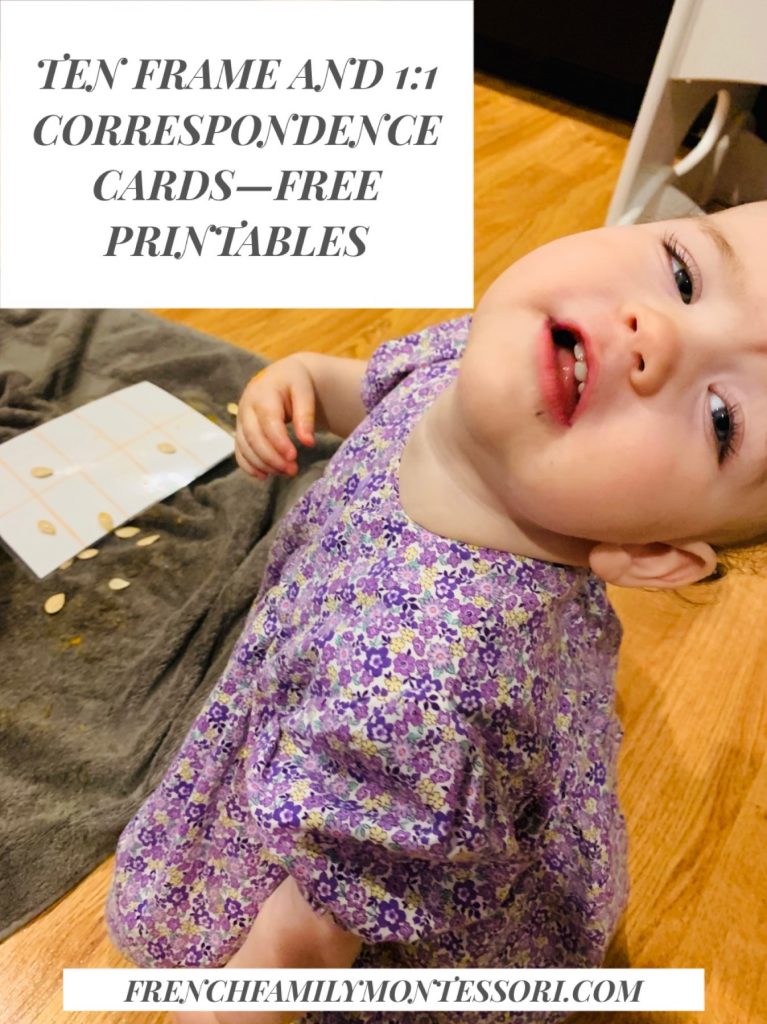
The girls have started to show an interest in counting; E has been going around saying, “two” to everything–two has been popular around her because two eyes, two ears, and two toddlers, haha. So when I was putting items together for a pumpkin sensory, I decided to make them laminated ten frame sheets and one-to-one corresponding counting cards so that we could use them to count the pumpkin seeds.
For beginning counters, like the girls, we don’t introduce number symbols quite yet. We start with counting items, often using a ten frame (I prefer wooden ones, but created a laminated one for messy work). In introducing this material, we count the item as we place it on a square. We make sure that only the exact number of items (ten for the ten frame) is available, so it’s self correcting and only use identical items. So pumpkin seeds were perfect for this (I just made sure to provide only ten seeds to each child).
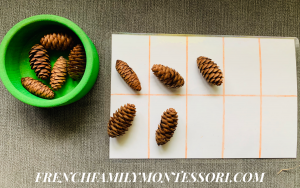
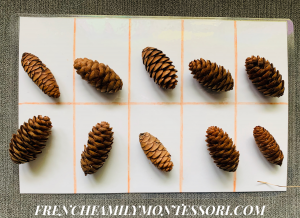
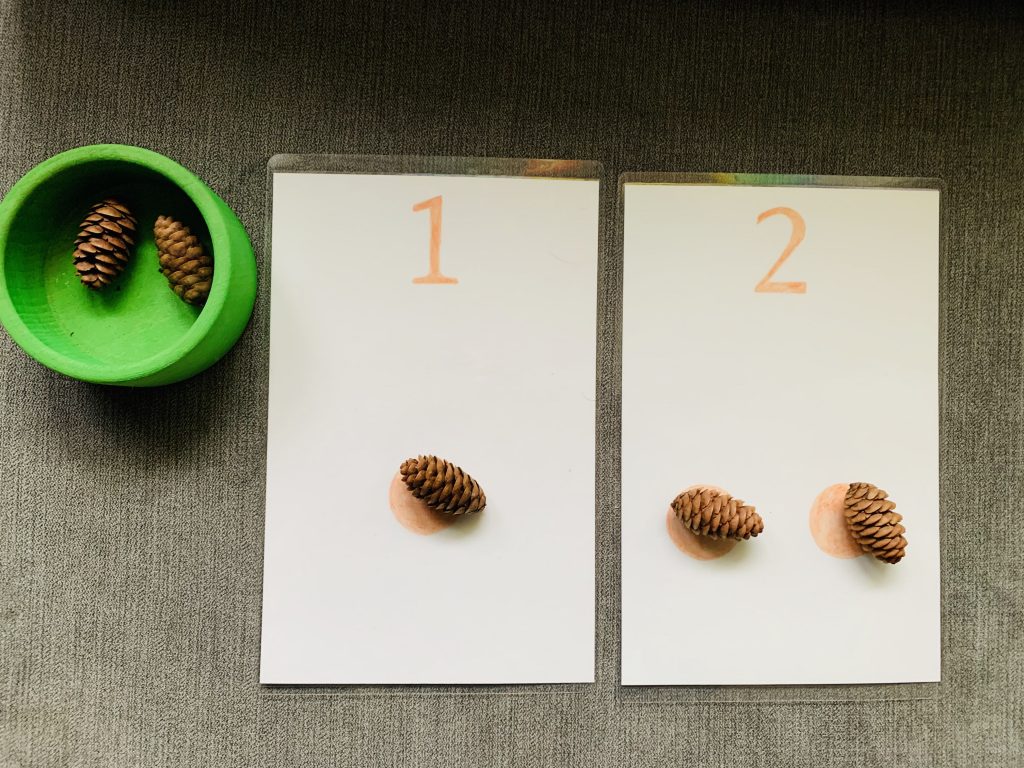
1:1 cards are one of the ideal materials for early counting as there are dots that correspond to the number at the top of the card, making it self correcting. In setting this up as an activity, like counting with the ten frame, you would want to ensure that all the counters are identical. Since we were going to start with pumpkin seeds, we would only use pumpkin seeds. If you are using felt balls, only use felt balls, not felt balls and buttons.
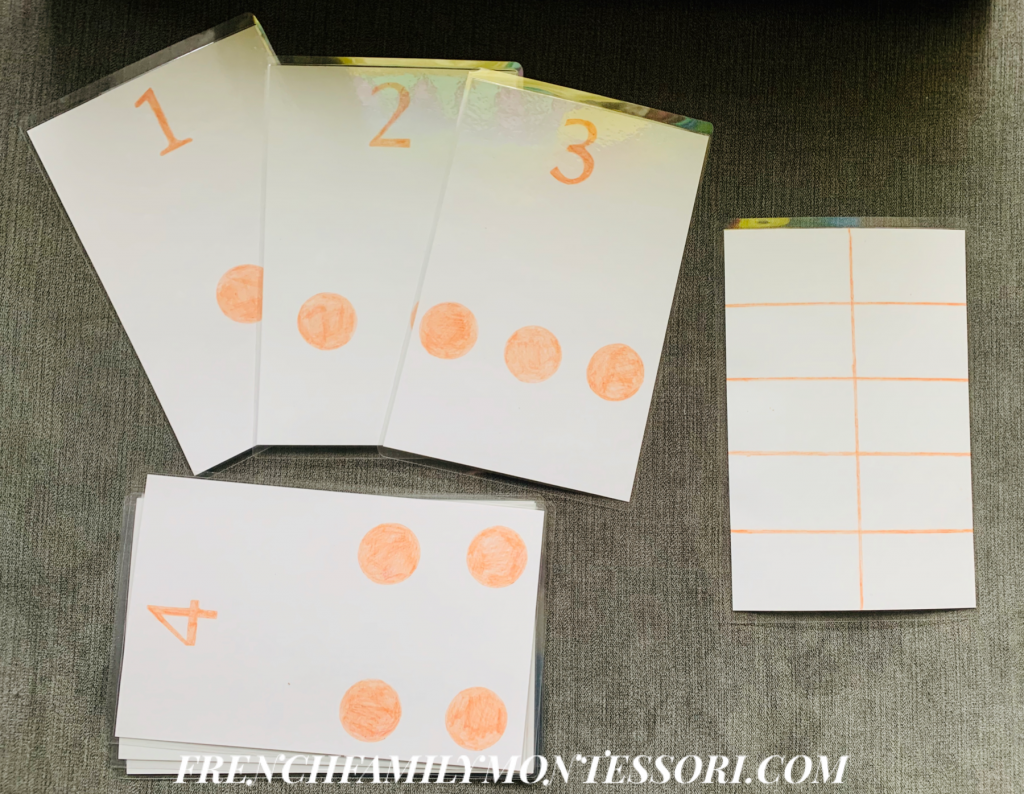
When using the 1:1 cards for our activity, I covered up the number symbols for the time being as we aren’t ready for it. But I wanted them to work on their fine motor skills by placing a pumpkin seed on each dot. This also allowed each girl to work on counting materials at the same time, one on the ten frame and the other with 1:1 cards (we only worked with cards 1, 2, and 3).
Presenting one-on-one cards (once they are counting items):
- Beginning with cards one through five, laying them out in order.
- Pointing to the first card number you say, “one”.
- Then pick up one counting item, hold it up and repeat, “one”, then place it on the single dot on the first card, “one”.
- If the child is still near, you will move on to the second card. Point to the number and say, “two”.
- Then pick up one counting item, hold it up and say, “one”, then place it on one of the dots.
- Then pick up a second counting item, hold it up and say, “two”, then place it on the second dot.
- Repeat, “one” and “two” while pointing to each item on the dots.
- Continue with cards three through five as long as the child remains interested. If they leave at any point, the lesson then ends and will start again at another time.
Once they are doing these cards on their own, more cards may be added for them to work with.
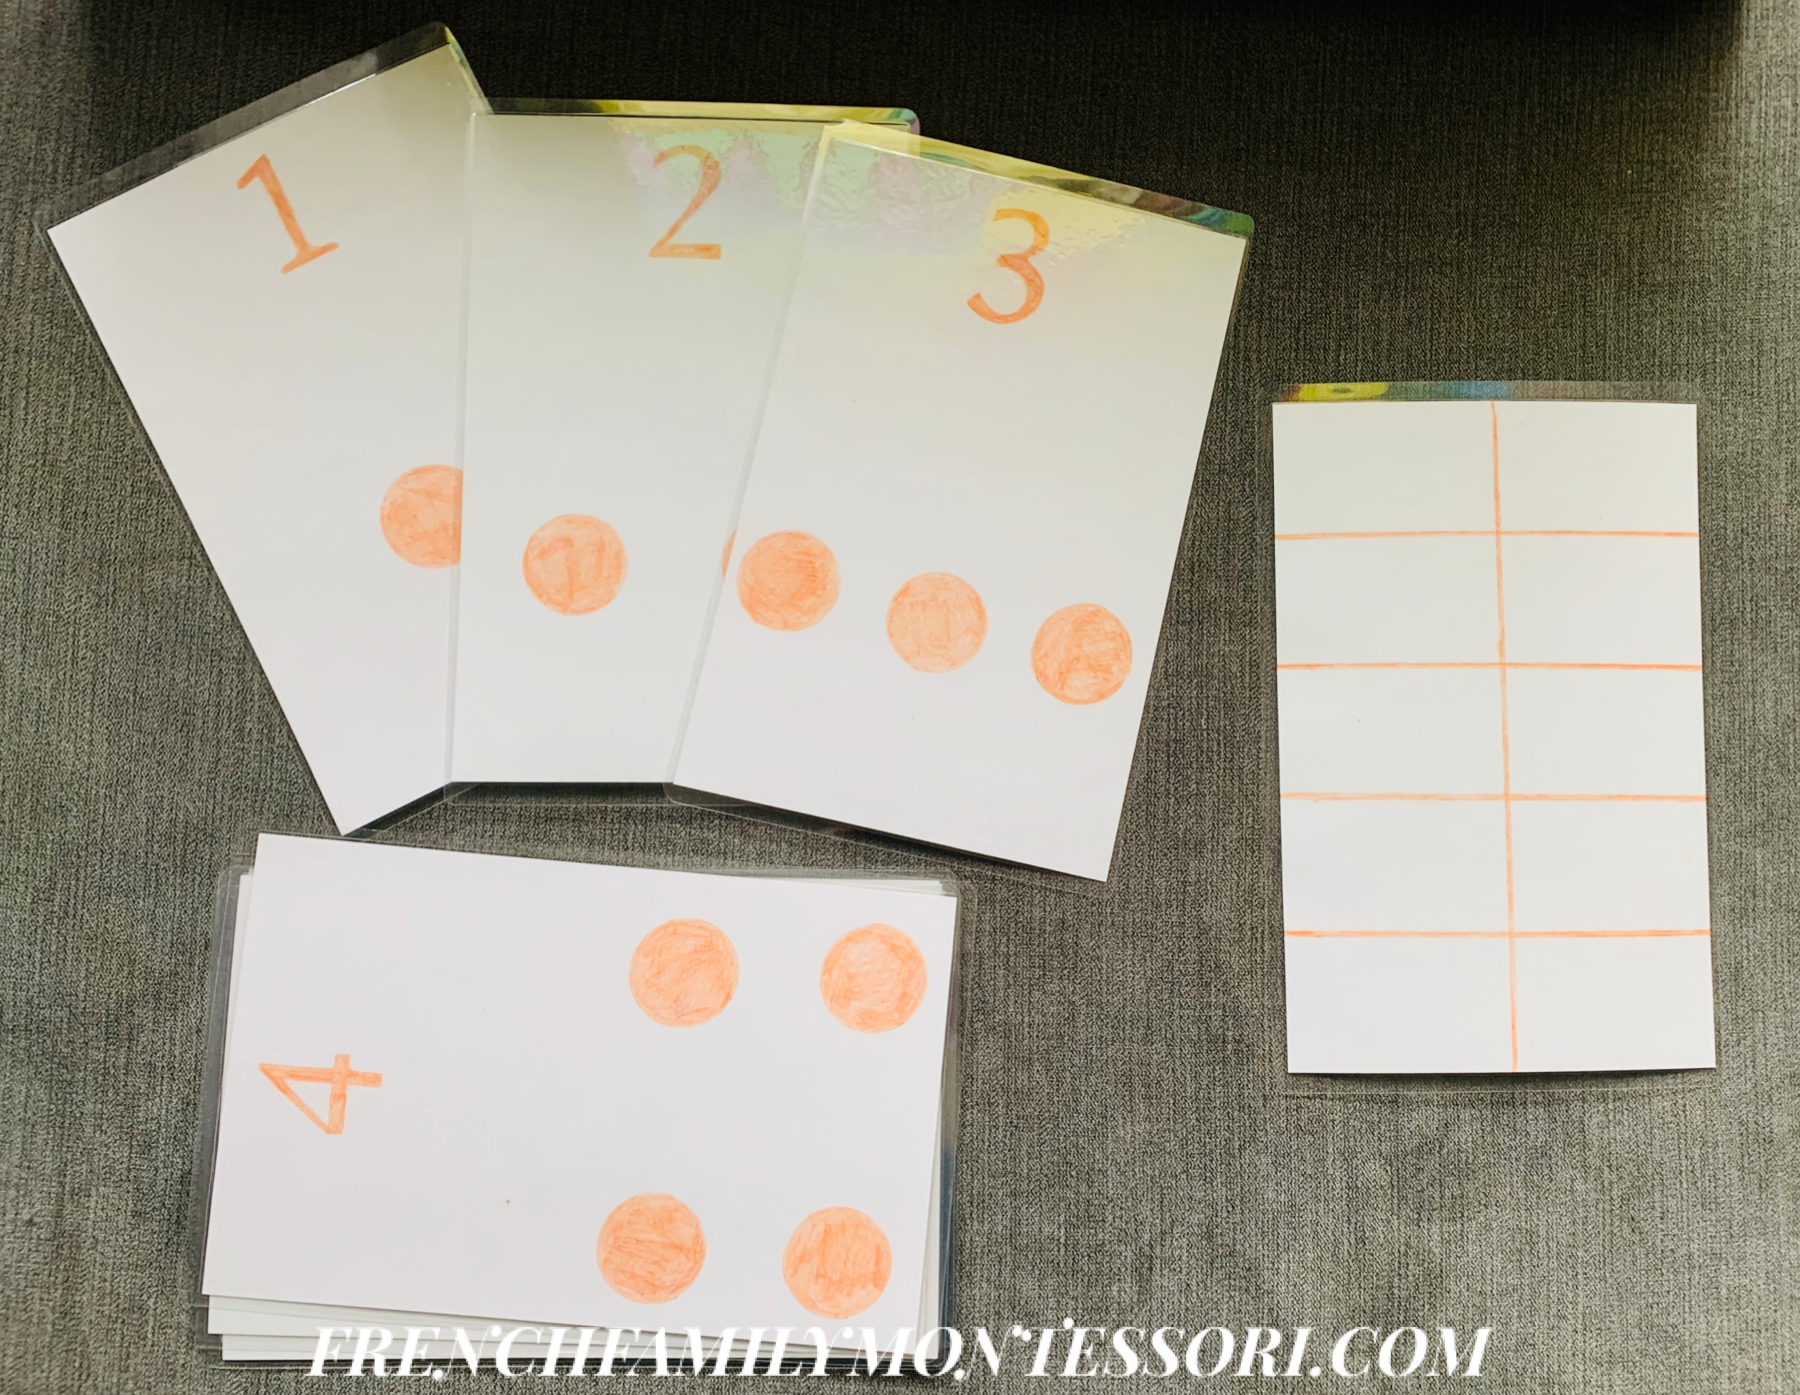
Using card stock and coloured pencil (I tried paint but just preferred this look best), I created and laminated our own 1:1 and ten frame cards. It was a little time consuming, so I decided to scan them for future use. Then if they need to be remade, for any reason, I can just print them off.
I have shared the scans so that, if you are like me with little time, you can just print them off (I highly recommend printing on card stock and laminating for durability) and enjoy.
Has your little one shown interest in counting?
PDF printables:
One-on-one correspondence cards
.
.
.
One thought on “TODDLER COUNTING: TEN FRAME AND 1:1 CORRESPONDENCE CARDS–FREE PRINTABLES”